A woodland advent

I recently collaborated with Dulux on bringing some festive cheer into your home using some of their tester pots, they are perfect for the home DIY. No wastage! This advent calender is a perfect simple DIY to add to your home for that little treat every day.

What you will need: wreath, wooden numbers, fake foliage, 25 hessian drawstring bags, florist wire, fairy lights, glue and Dulux tester pots in Almost Oyster, Overtly Olive and Redcurrant Glory.
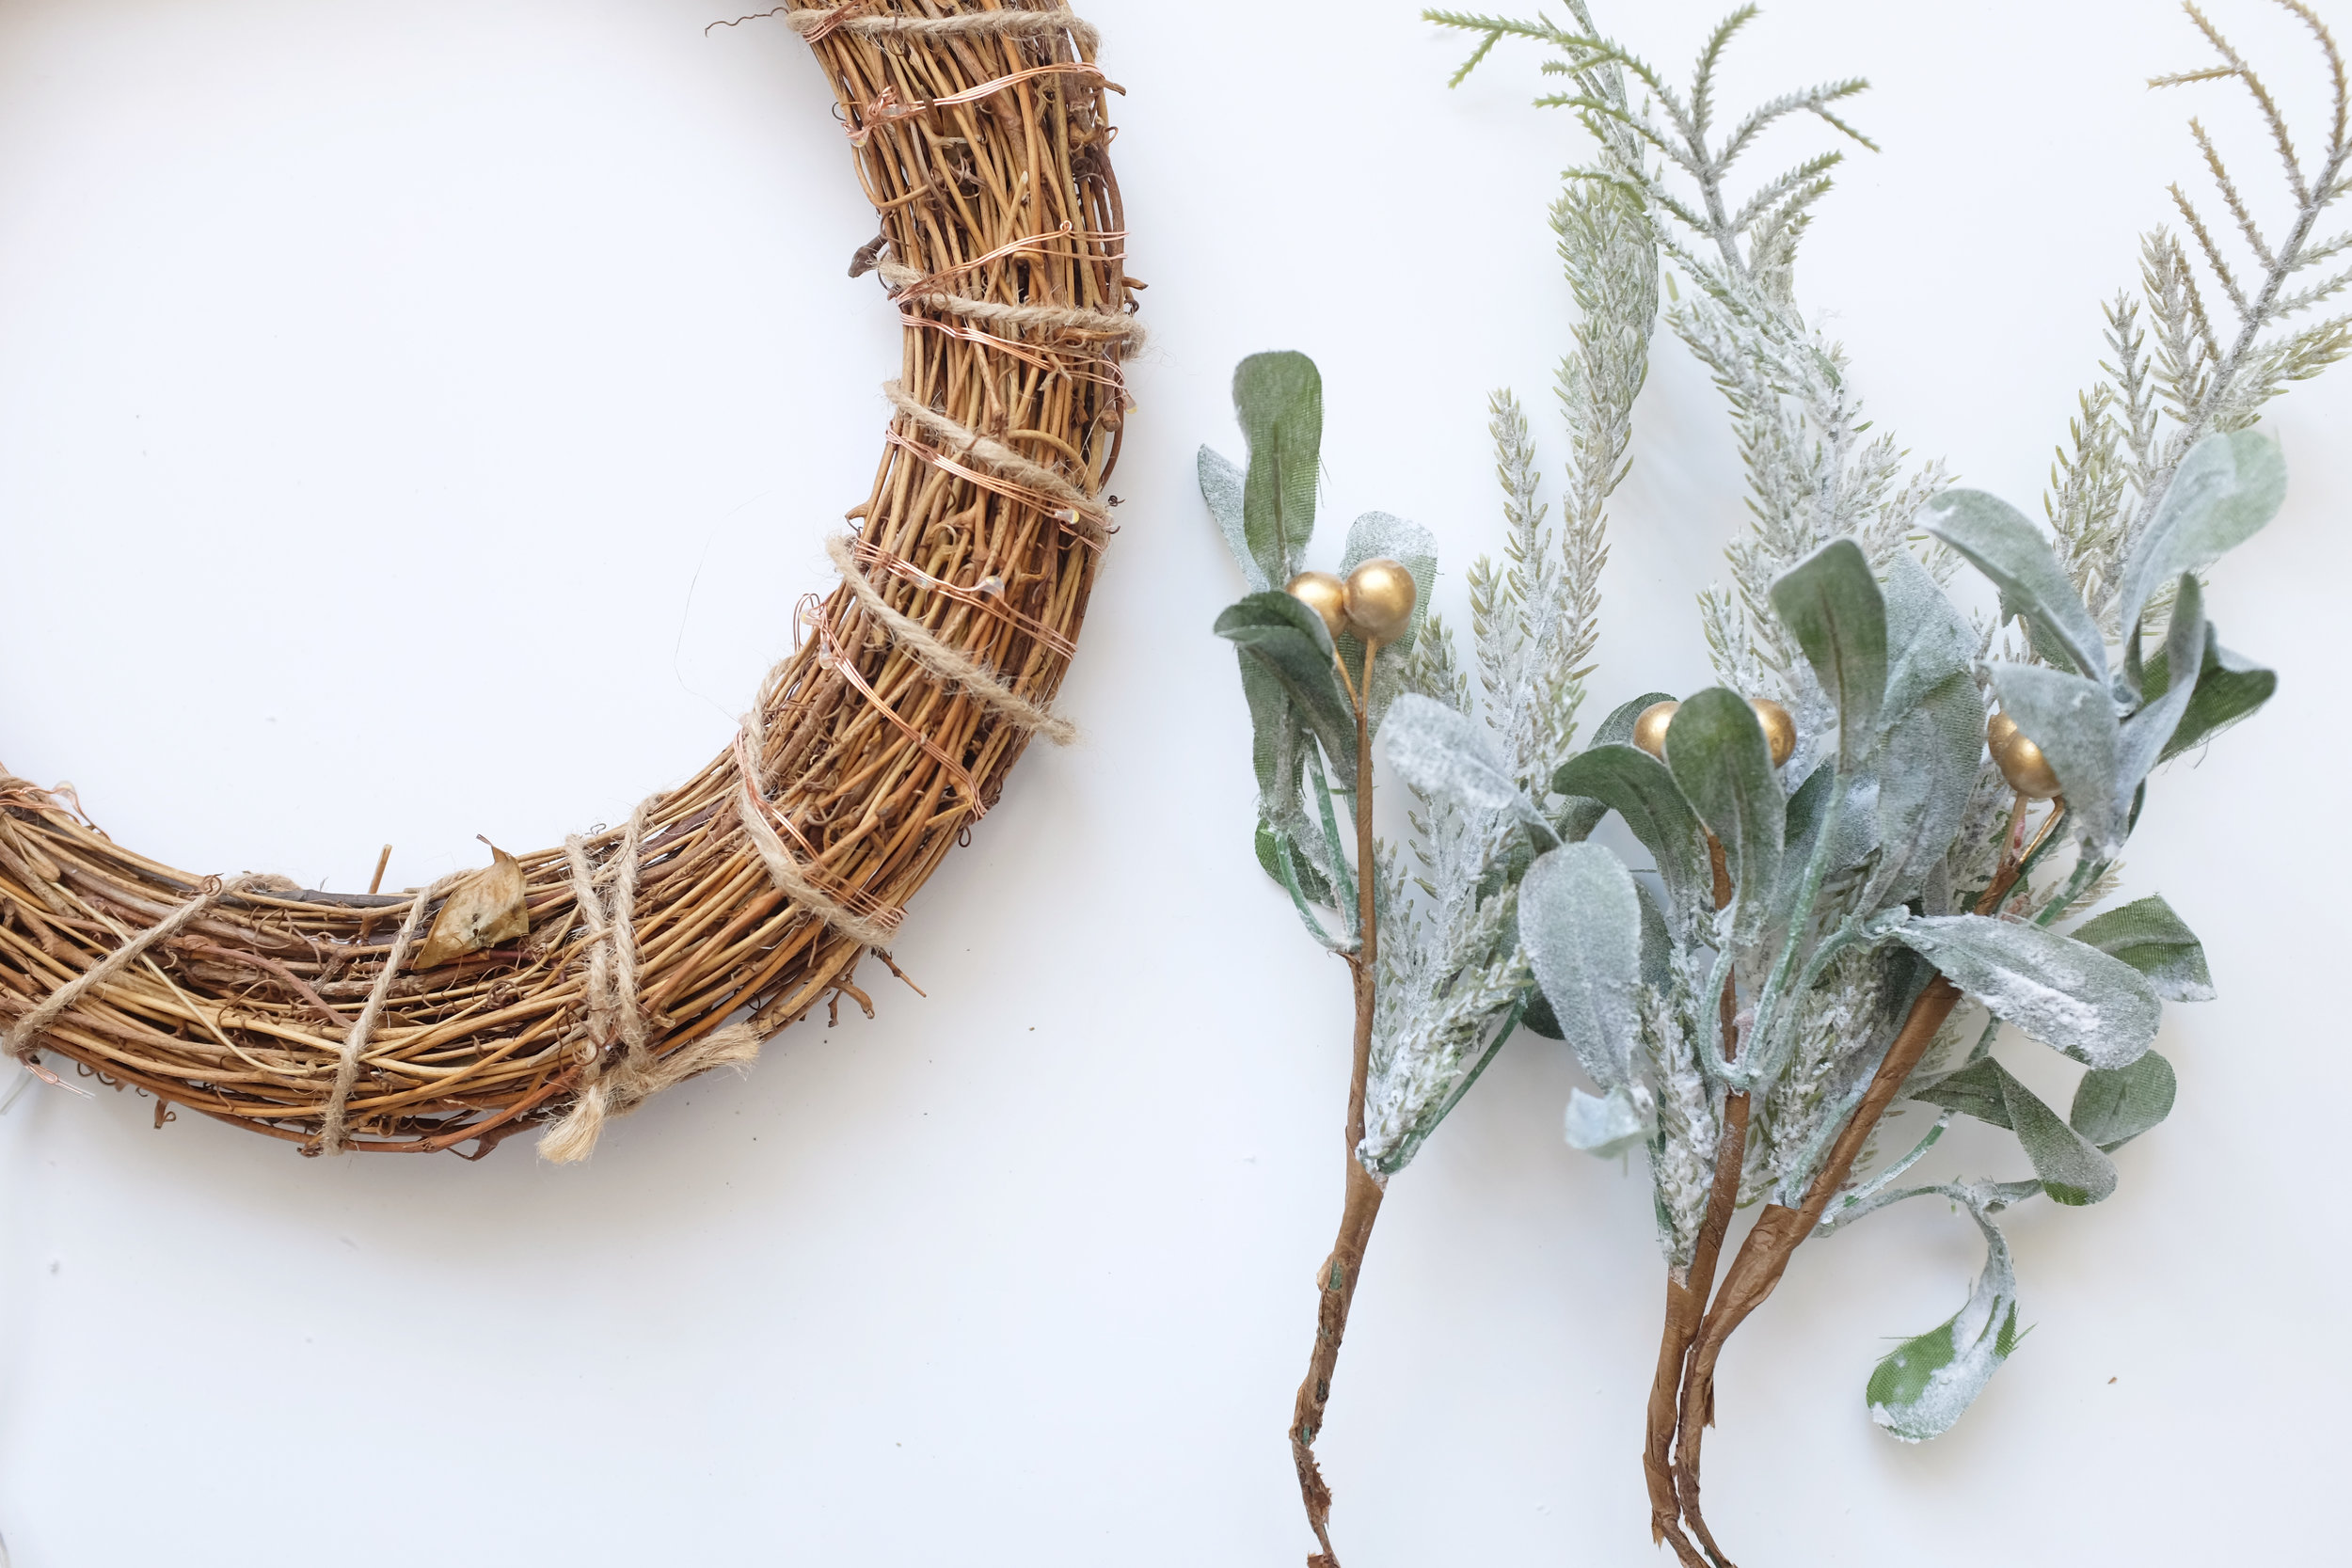
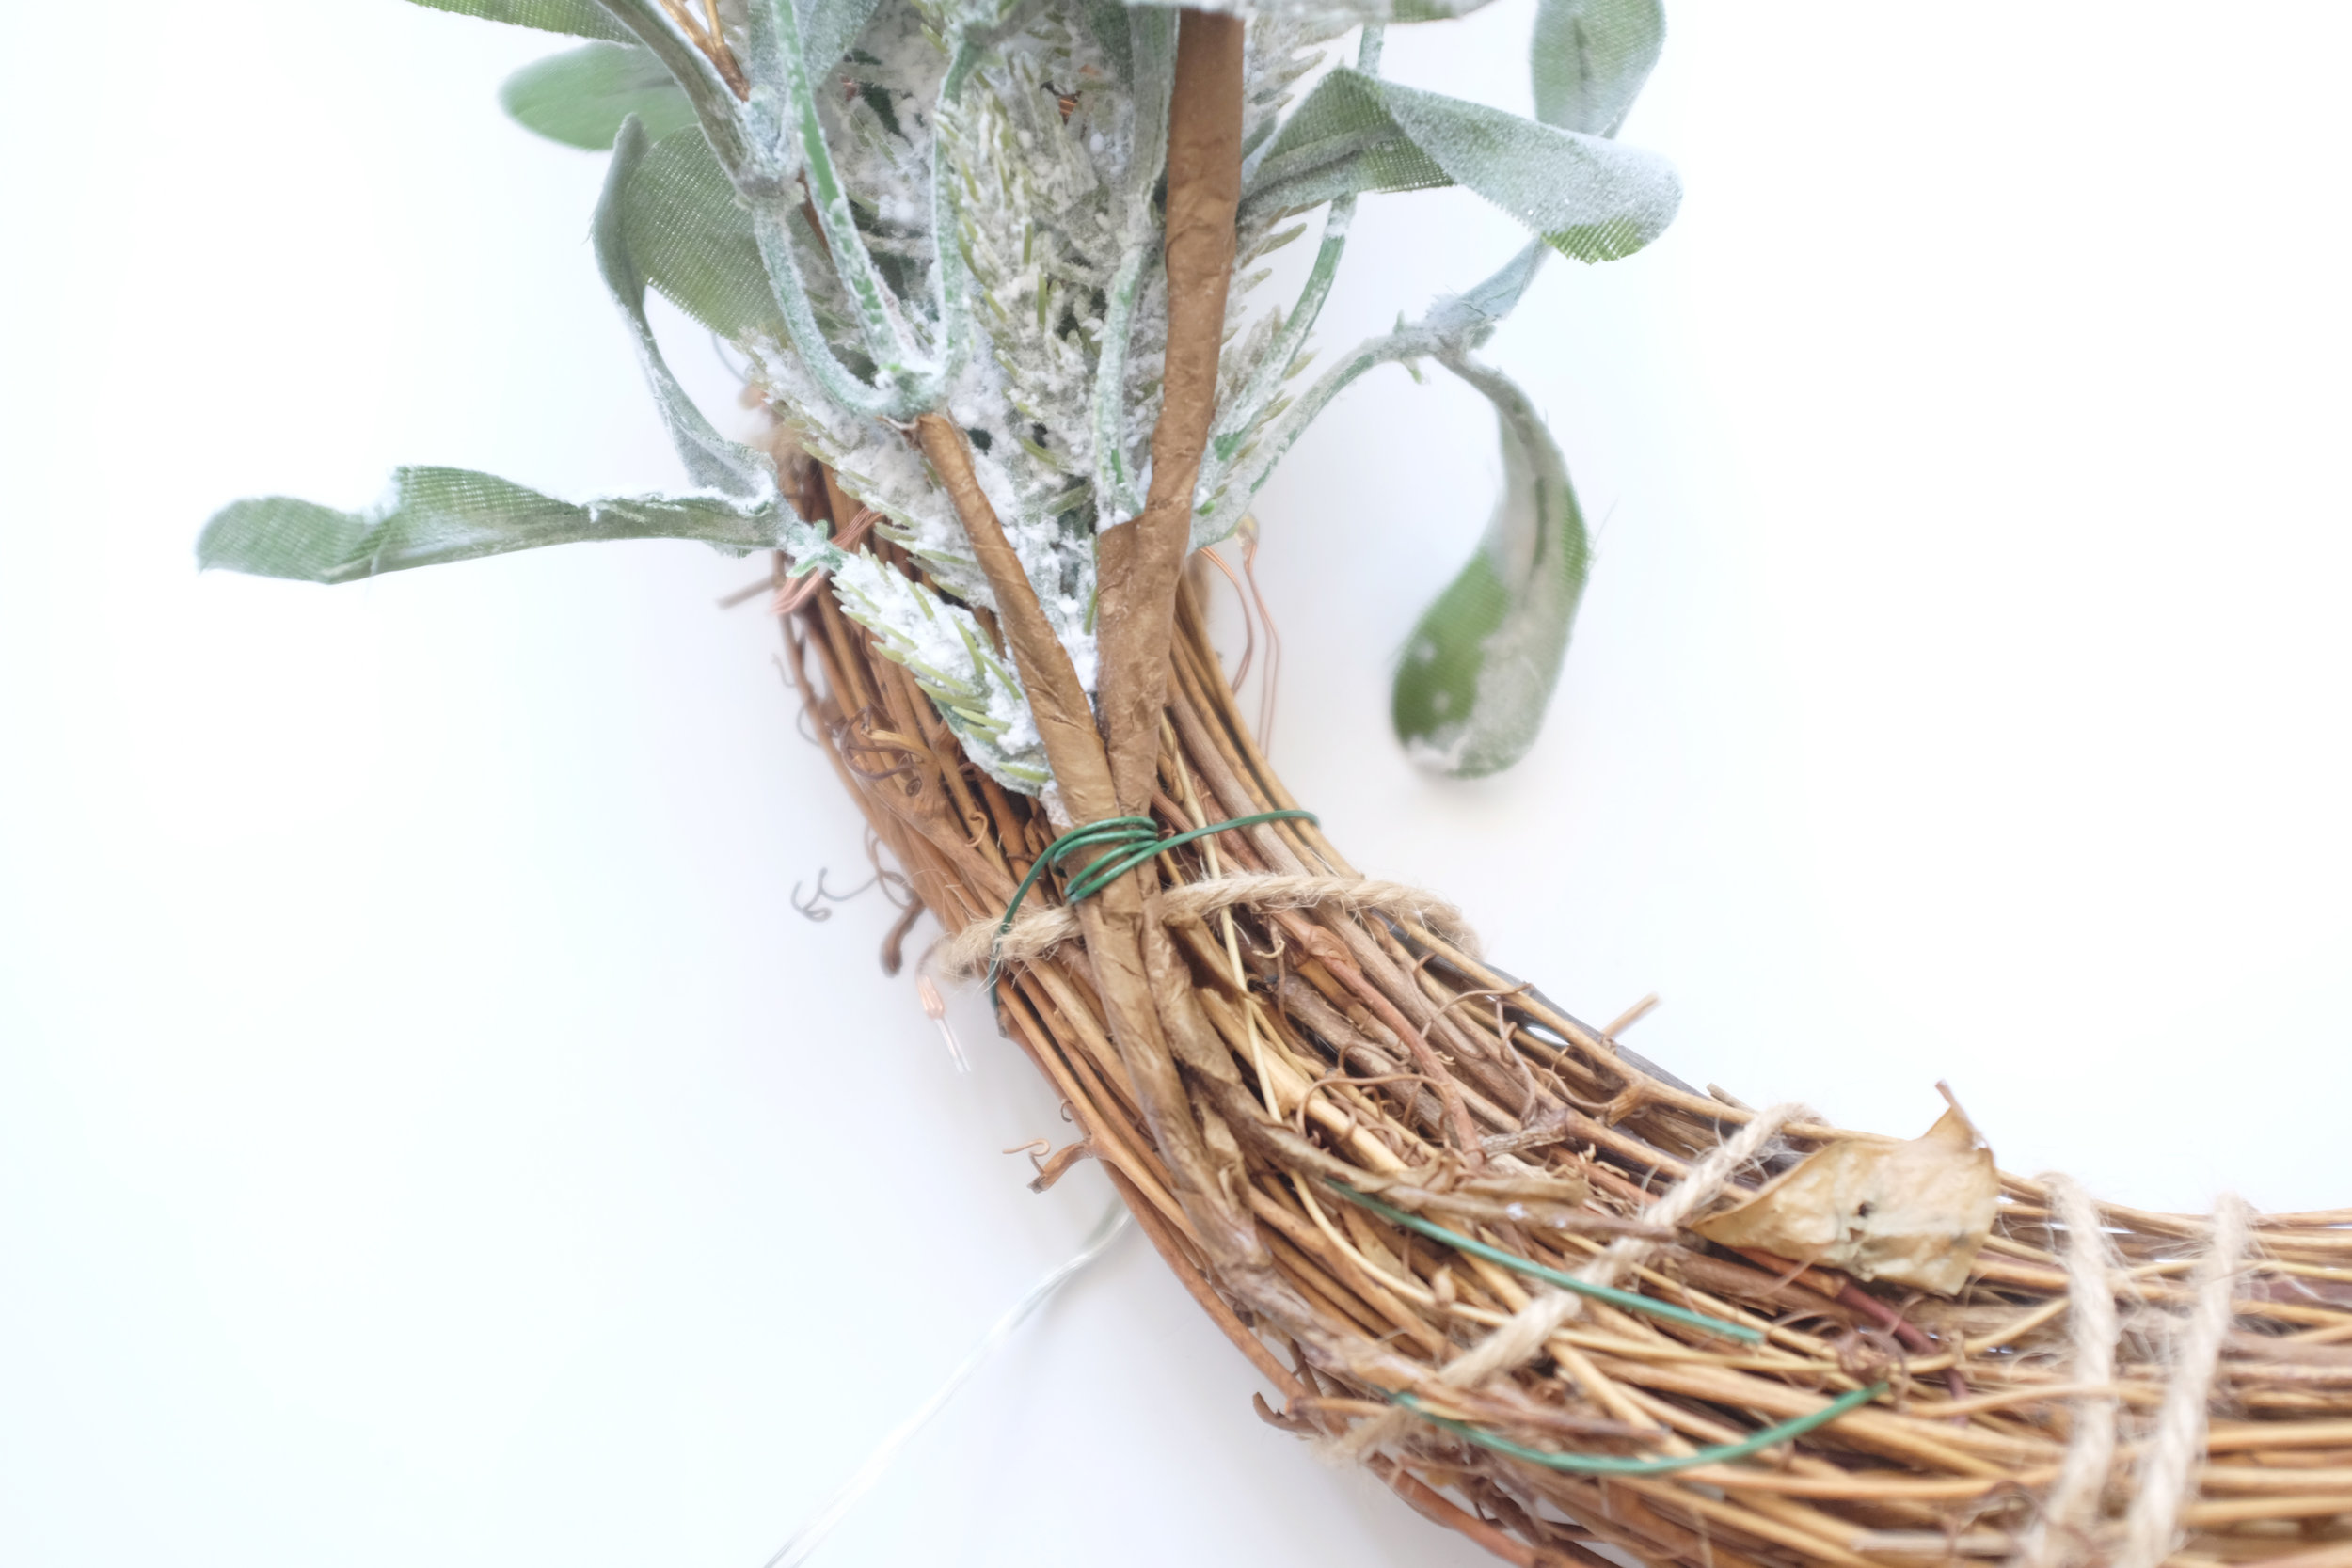
Start with wrapping your battery powered fairy lights around your wreath. Make sure they are evenly spaced and there is no need to cover the bottom section of your wreath. Using the florist wire, wrap a piece around some foliage and secure it by twisting the wire together at the back.

Build the foliage up on both sides of the wreath. Keep in mind you will be securing the hessian bags so you don’t need too much foliage.

With the wooden numbers paint each one with the Redcurrent Glory tester pots. Leave to dry.

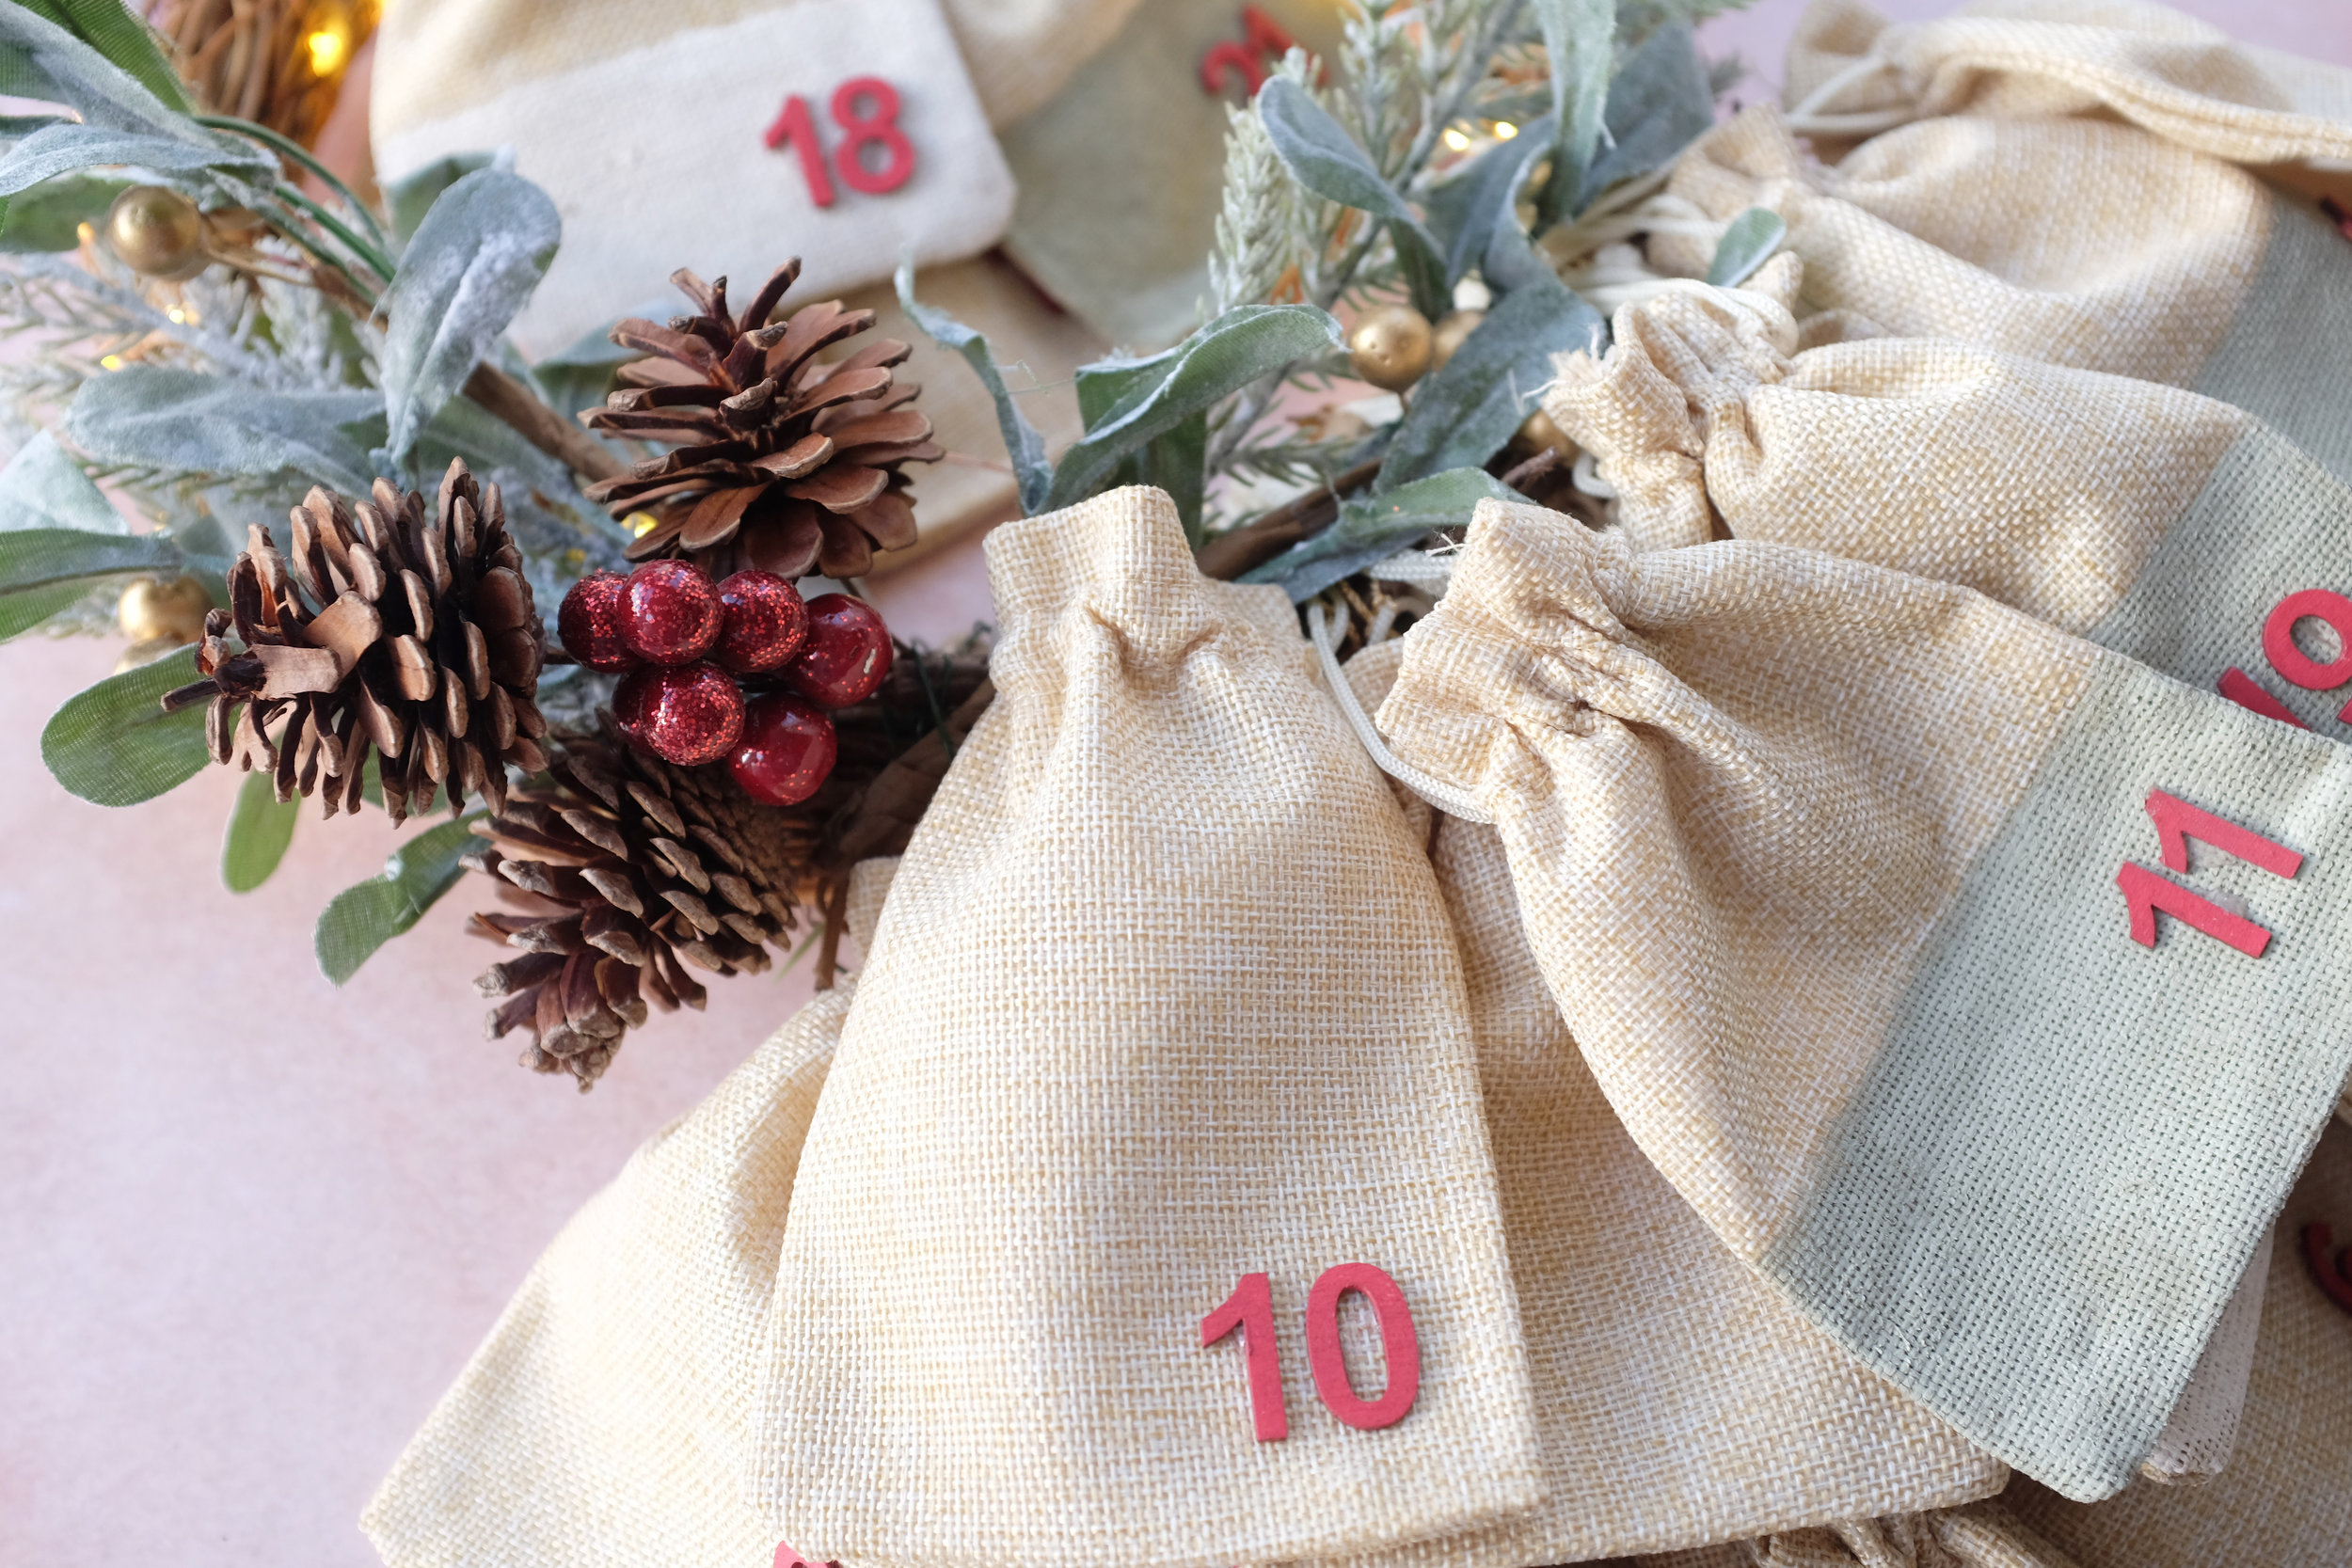
Whilst the wooden numbers are drying, paint the bottom halves of the hessian bags either Almost Oyster and Overtly Olive. Leave to dry.

Once dry glue the numbers onto each hessian bag.

Once you have filled all your advent bags attach them to the wreath. I tied them to the top and the bottom of the wreath. It is now ready to hang!


*This post was made possible by Dulux. All opinions are my own. Thank you for supporting the brands that support Peas and Needles.